Things start to GET REAL when you begin the metal work.
It got rolling along pretty well. I even the got wife involved.
It's not easy to handle 13' sheets of siding alone.
The start of my idea for hanging the siding.

2- 2x4 just laying on the top with a 1x4 cleat screwed to the end. Almost the width the camper.
I got a measurement from the top of the wall to the lower attachment spot for the siding.
Then take another 2x4 about the length of your siding and attach to the back side of you siding with the bottom edge of 2x4 approximate the distance from top of wall to attachment flange of siding.
I say approximate because you can fine tune the fitment as long as you are not to short....it can be a bit long without any issue.

You can bring in the metal and rest it on top of wall.
A couple of clamps can hold it to the 1x cleats until you get a couple of screws through to 1x into the 2x4 holding the siding.

Now with it attached to the 2x4 you can shim either one up to get bottom of siding lined up with your attachment spot. The weight of the 2x4 laying across counter balances the siding....so its not going to fall off.


It wasn't quite warm enough temps to be the ideal 80 degrees but the propane heater made short work of raising the metal temp up to 80 or above.


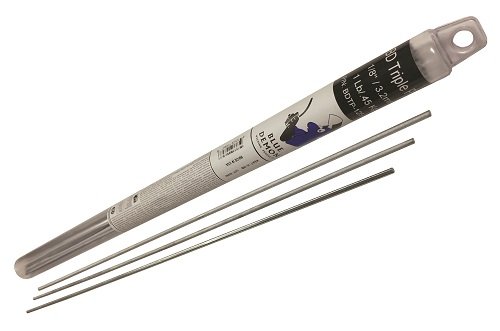
Time to attach. Using 1/4" crown 3/4"long stainless steel chisel point staples.

Bottom piece is pretty straight forward.
I didn't get many pics...It was rolling along and kinda forgot.
We slid the top into the bottom seam of the the top piece.
Wife held the siding up flat against the wall and I went underneath and marked the bottom edge of the wall with the point of a utility knife....make a very distinct edge line.

Pull the siding off and marked it 1" below my other mark.
WHY?
Because I was then going to bend a 1" lip to fold under the wall.
It may not be easy....but these tools do the job.

Remember to try to put the staples in the breaks if at all possible.....it keeps from making unnecessary ripples in the metal.

I decided to try and use my electric shears from Harbor Freight.
I was surprised that did go around the curves as well as they did.
You just have to keep the "trailing" piece pushed out of the way.


Street side done

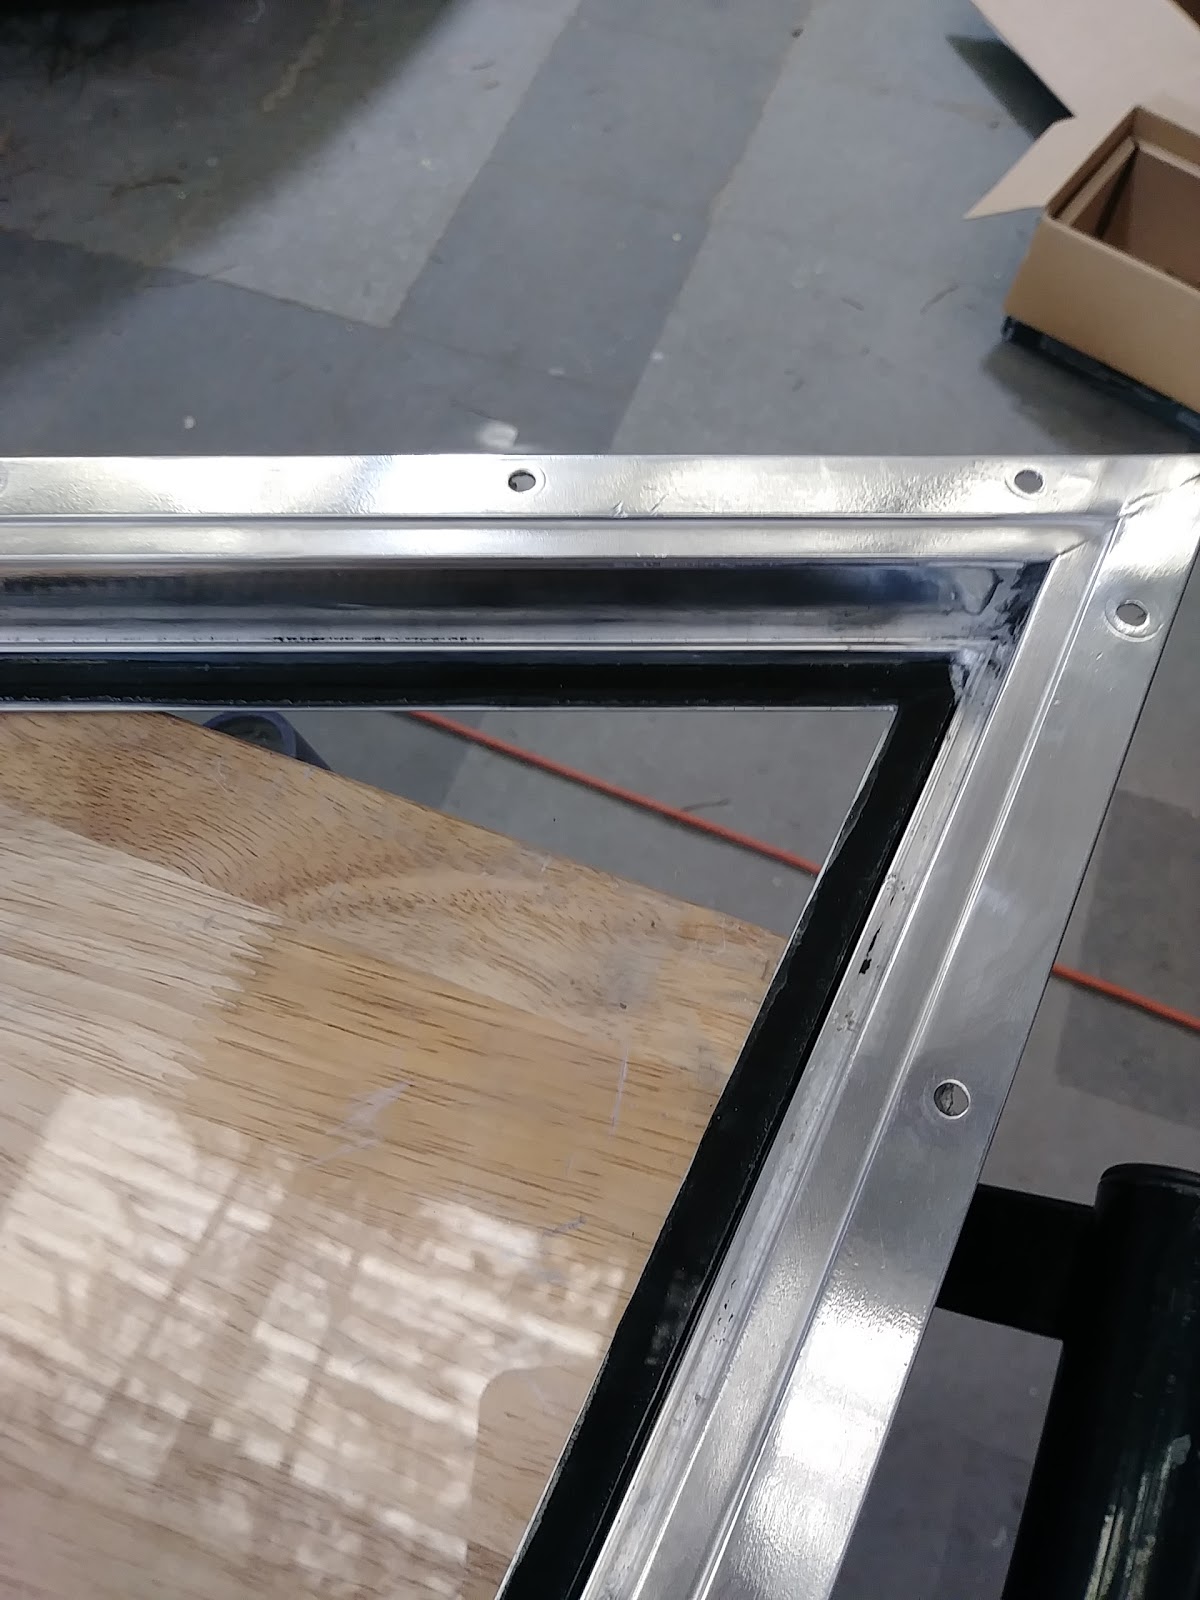
Cutting openings
From inside drill a small hole fairly close to the corners of the opening.

Then from the outside I enlarged the hole to at least 1/2".....just be careful and don't go past the edge of your opening. If you don't have a step bit you can use a 1/2" from the inside directly in the corner.


The 1/2" allows the shears to fit.
Keep a bit of inward pressure yo make sure you have the siding against the wall and you can run the edge of the shears right against the edge of your opening.


All cut out and ready to move on to.....................

CURBSIDE


RAISE THE ROOF

One piece seamless aluminum with pittsburgh seam on each end

Get it line up the end with the spot you are going to staple it. I had to put another row of wood "nailers" at the rear window because my measurement was off a couple of inches.

Then strapping down the roof to make sure you get it stretched and square.
This webbing works out perfect and it is cheap too.

The Hi-lander presents a bit of challenge with the reverse bend in the roof but some 2x2 steel tubing does the trick to pull it into the dip.

3-4 pics don't quite tell the whole story but I was busy.
Another shear trick.
Let's say you want 1/2" edge left to fold over ("I used 3/8".....more on that later).....
Take a piece of something...plywood, board, plastic, metal.....the thickness of however much edge yo want. Lay it against the wall and run the shears up against it......straight...consistent overhang.


I didn't get very many pics of the fold over and it can be a bit tough to explain.
I watched Mobiltec's Youtube videos and his Patreon Classes over and over and seeing is a lot easy than me trying to describe it.


Here is the reason I used only a 3/8" fold over.
I wanted to use the original style corner trim and it is just 3/8" on the wall edge.


The edge trim I bought did not have the holes already drilled. Which is good because I wanted to make sure that none of the holes lined up on other screws or wires or staples etc.
I found a punch that made it so much easier than drilling.