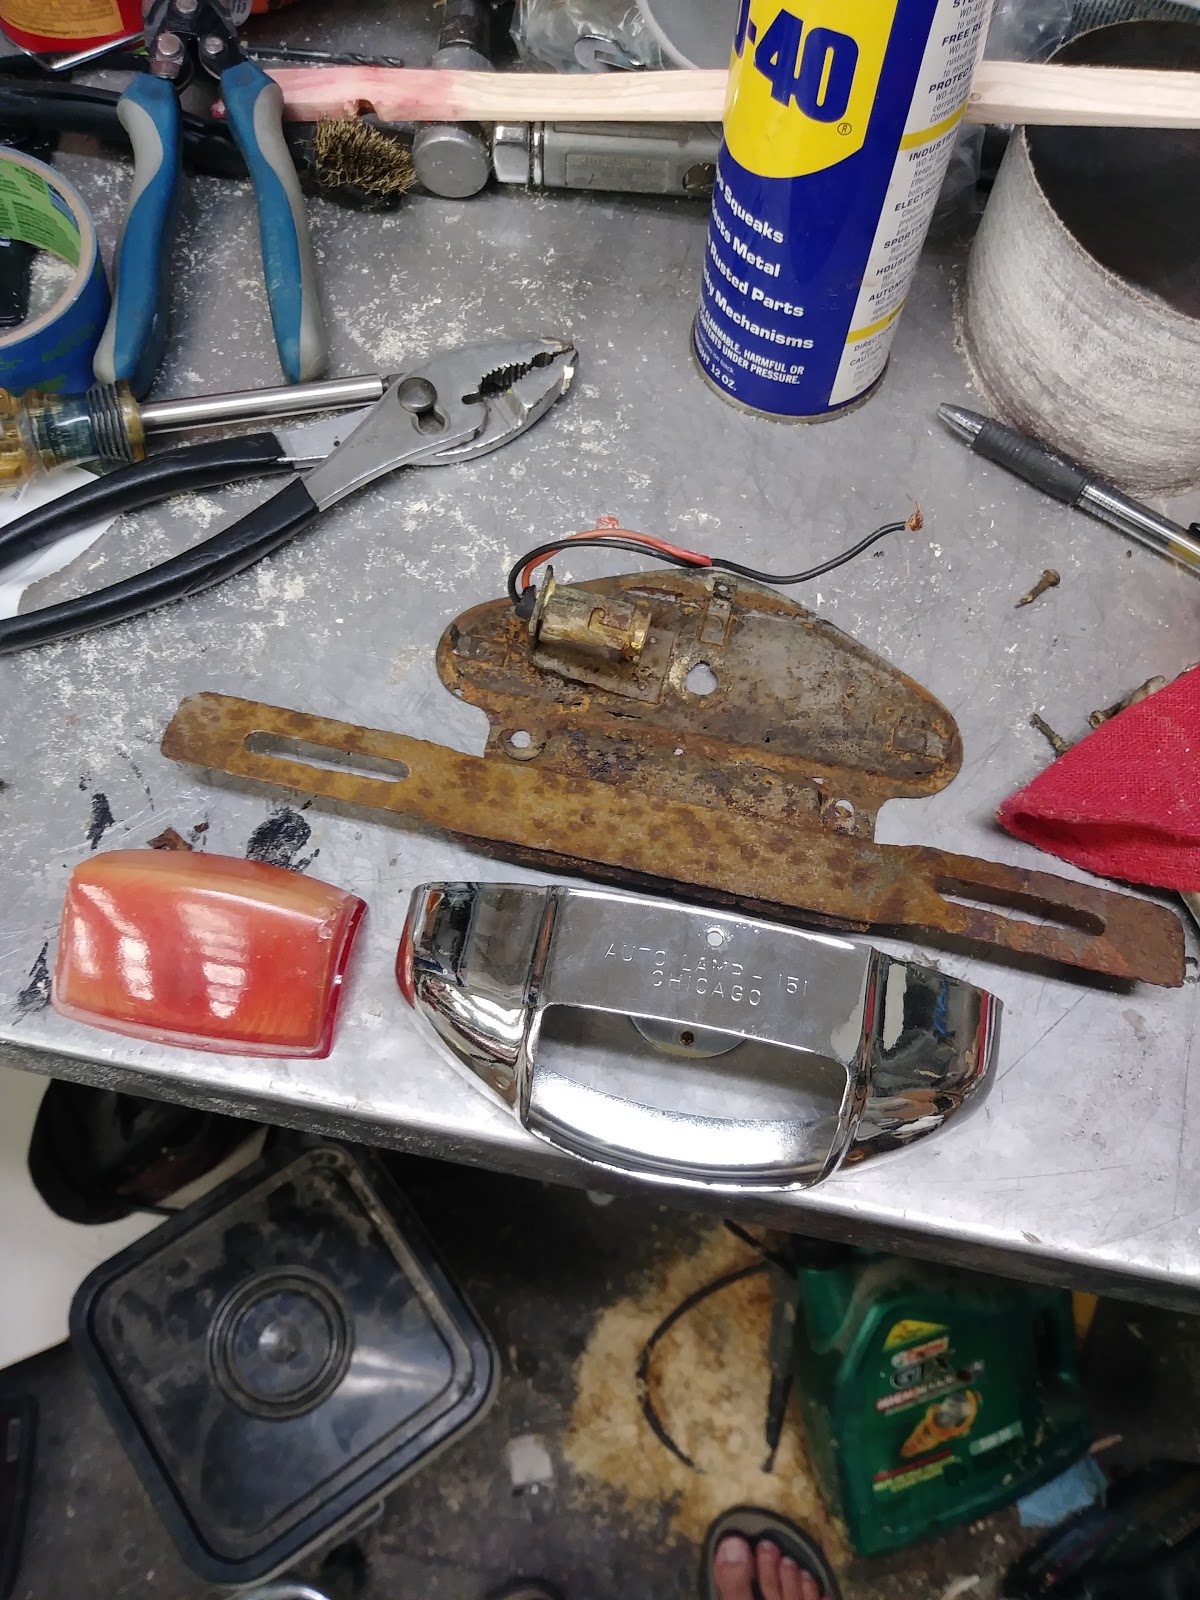
It has been a bit since the last update.
Insulation time.

The walls are fairly straight forward.
3/4" polystyrene board. I would have rather had polyisocyanurate board but no source local had 3/4"
I wasn't necessarily looking for foil faced since my wrap has it but that is what they had.


NOW...insulating the wrap was more tricky.
If you use fiberglass it's not a big deal with the curves but had some "fanfold" board for free so I decided I would use it.
3 layers of fanfold and 1 layer of some other leftover Prodex insulation got me to the 3/4" thickness.
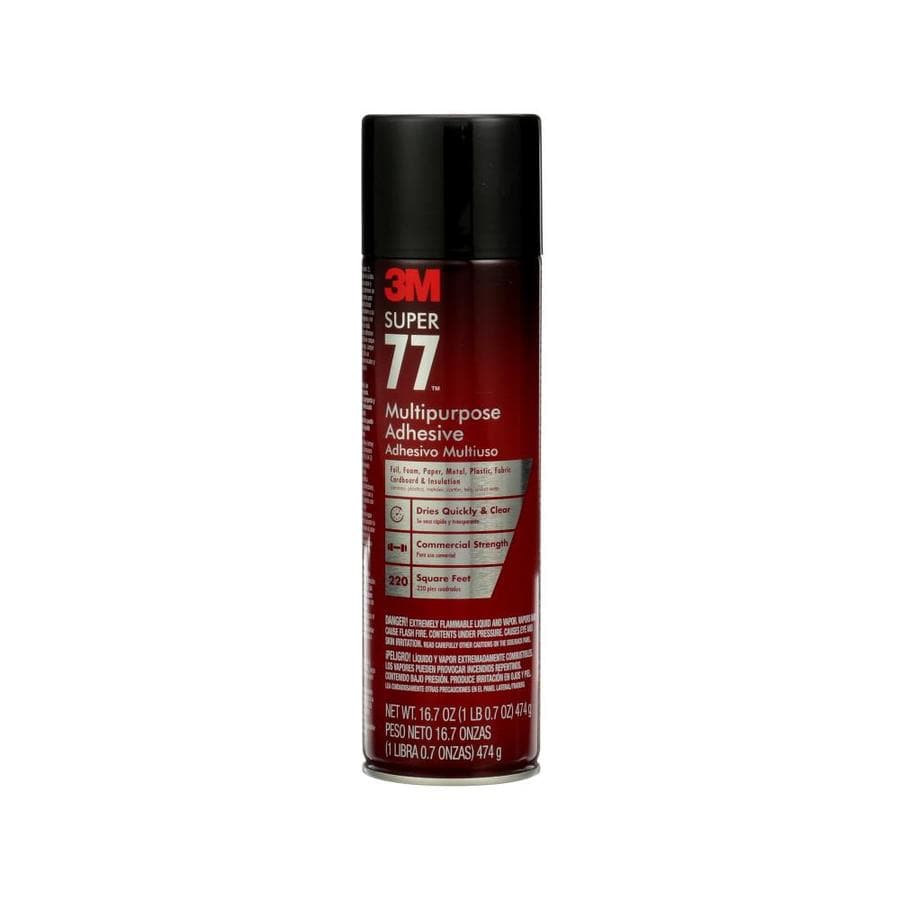
A bit of spray glue between each layer kept things in place.


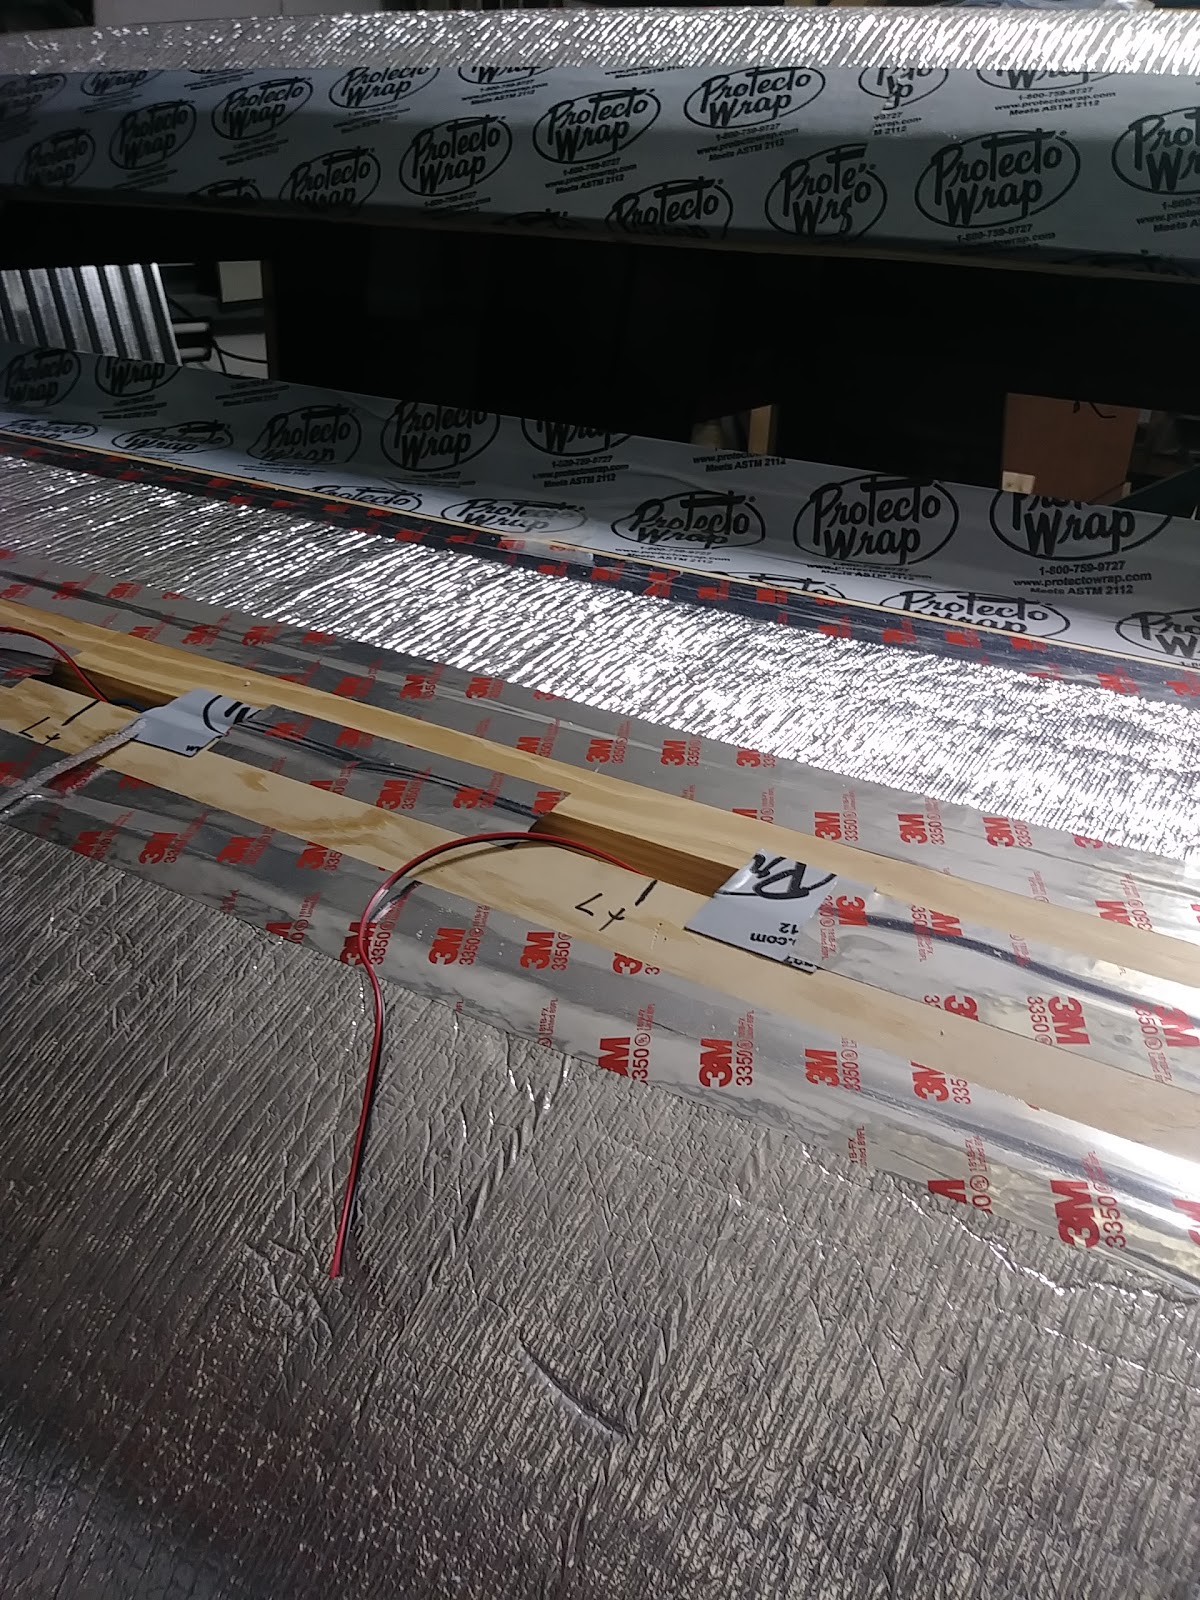


Now time to wrap the WRAP.
There is what is called "double bubble" insulation/vapor barrier which is sort of like packing bubble plastic wrap but I didn't like the idea of the bubbles popping and losing the consistent thickness.
This thermal reflective barrier is foil 1 side white 1 side with foam between. Less than 1/8" thick so it doesn't change the fit of anything and adds a bit of cushion to the metal once installed.
Seams and edges are sealed with high quality house wrap tape or an HVAC tape.


Quick side note. Remember to mark all the spots that you CAN'T place screws or staples.
Mark them with paint that will stay on.


Another minor accomplishment.
Back on her own new wheels, tires and axle.
First time in many many months.


WINDOWS
Another project in itself
Just getting started but a bit of a preview on what the next update may be.